
This Home Lab is Covering its Own Costs!
Building a pro-grade system on a hobbyist budget.
There are homelabs, and then there are infrastructures. Usually, a homelab is a money pit—a computer in a closet that burns electricity. But my latest build is different.
This week, I completed a dual-node architecture that splits the workload between Network and Storage. It ensures my network never lags, my downloads never stall, and most importantly, it pays for itself by replacing expensive cloud subscriptions and commercial hardware.
Here is the full breakdown of the Silicon, Speed, and Savings.
💸 The Economics: How It Pays for Itself
I am earning money with resource sharing: Since 9th of Sept. 2025 until 9th of March 2026 I earned 34.587 USD, that’s about ~60 USD a year on my account (removed some downtime and transfer costs).
I pay for the Internet anyways, so I am not considering that as a cost.
I asked Gemini to calculate the electricity cost of my homelab based on my electricity bill and the consumption showed by my USB Tester. It was about ~ 6 USD a year, if I include my FR24 Feeder, let’s make it ~9.54 USD.
Domain name yearly fee: 10.46 USD. SSL, email, etc is for free.
So in the end I still have ~ 40 USD which can cover the Internet for almost a quater year. I think not bad! I have my little playground not just for free, but also earning some coins.
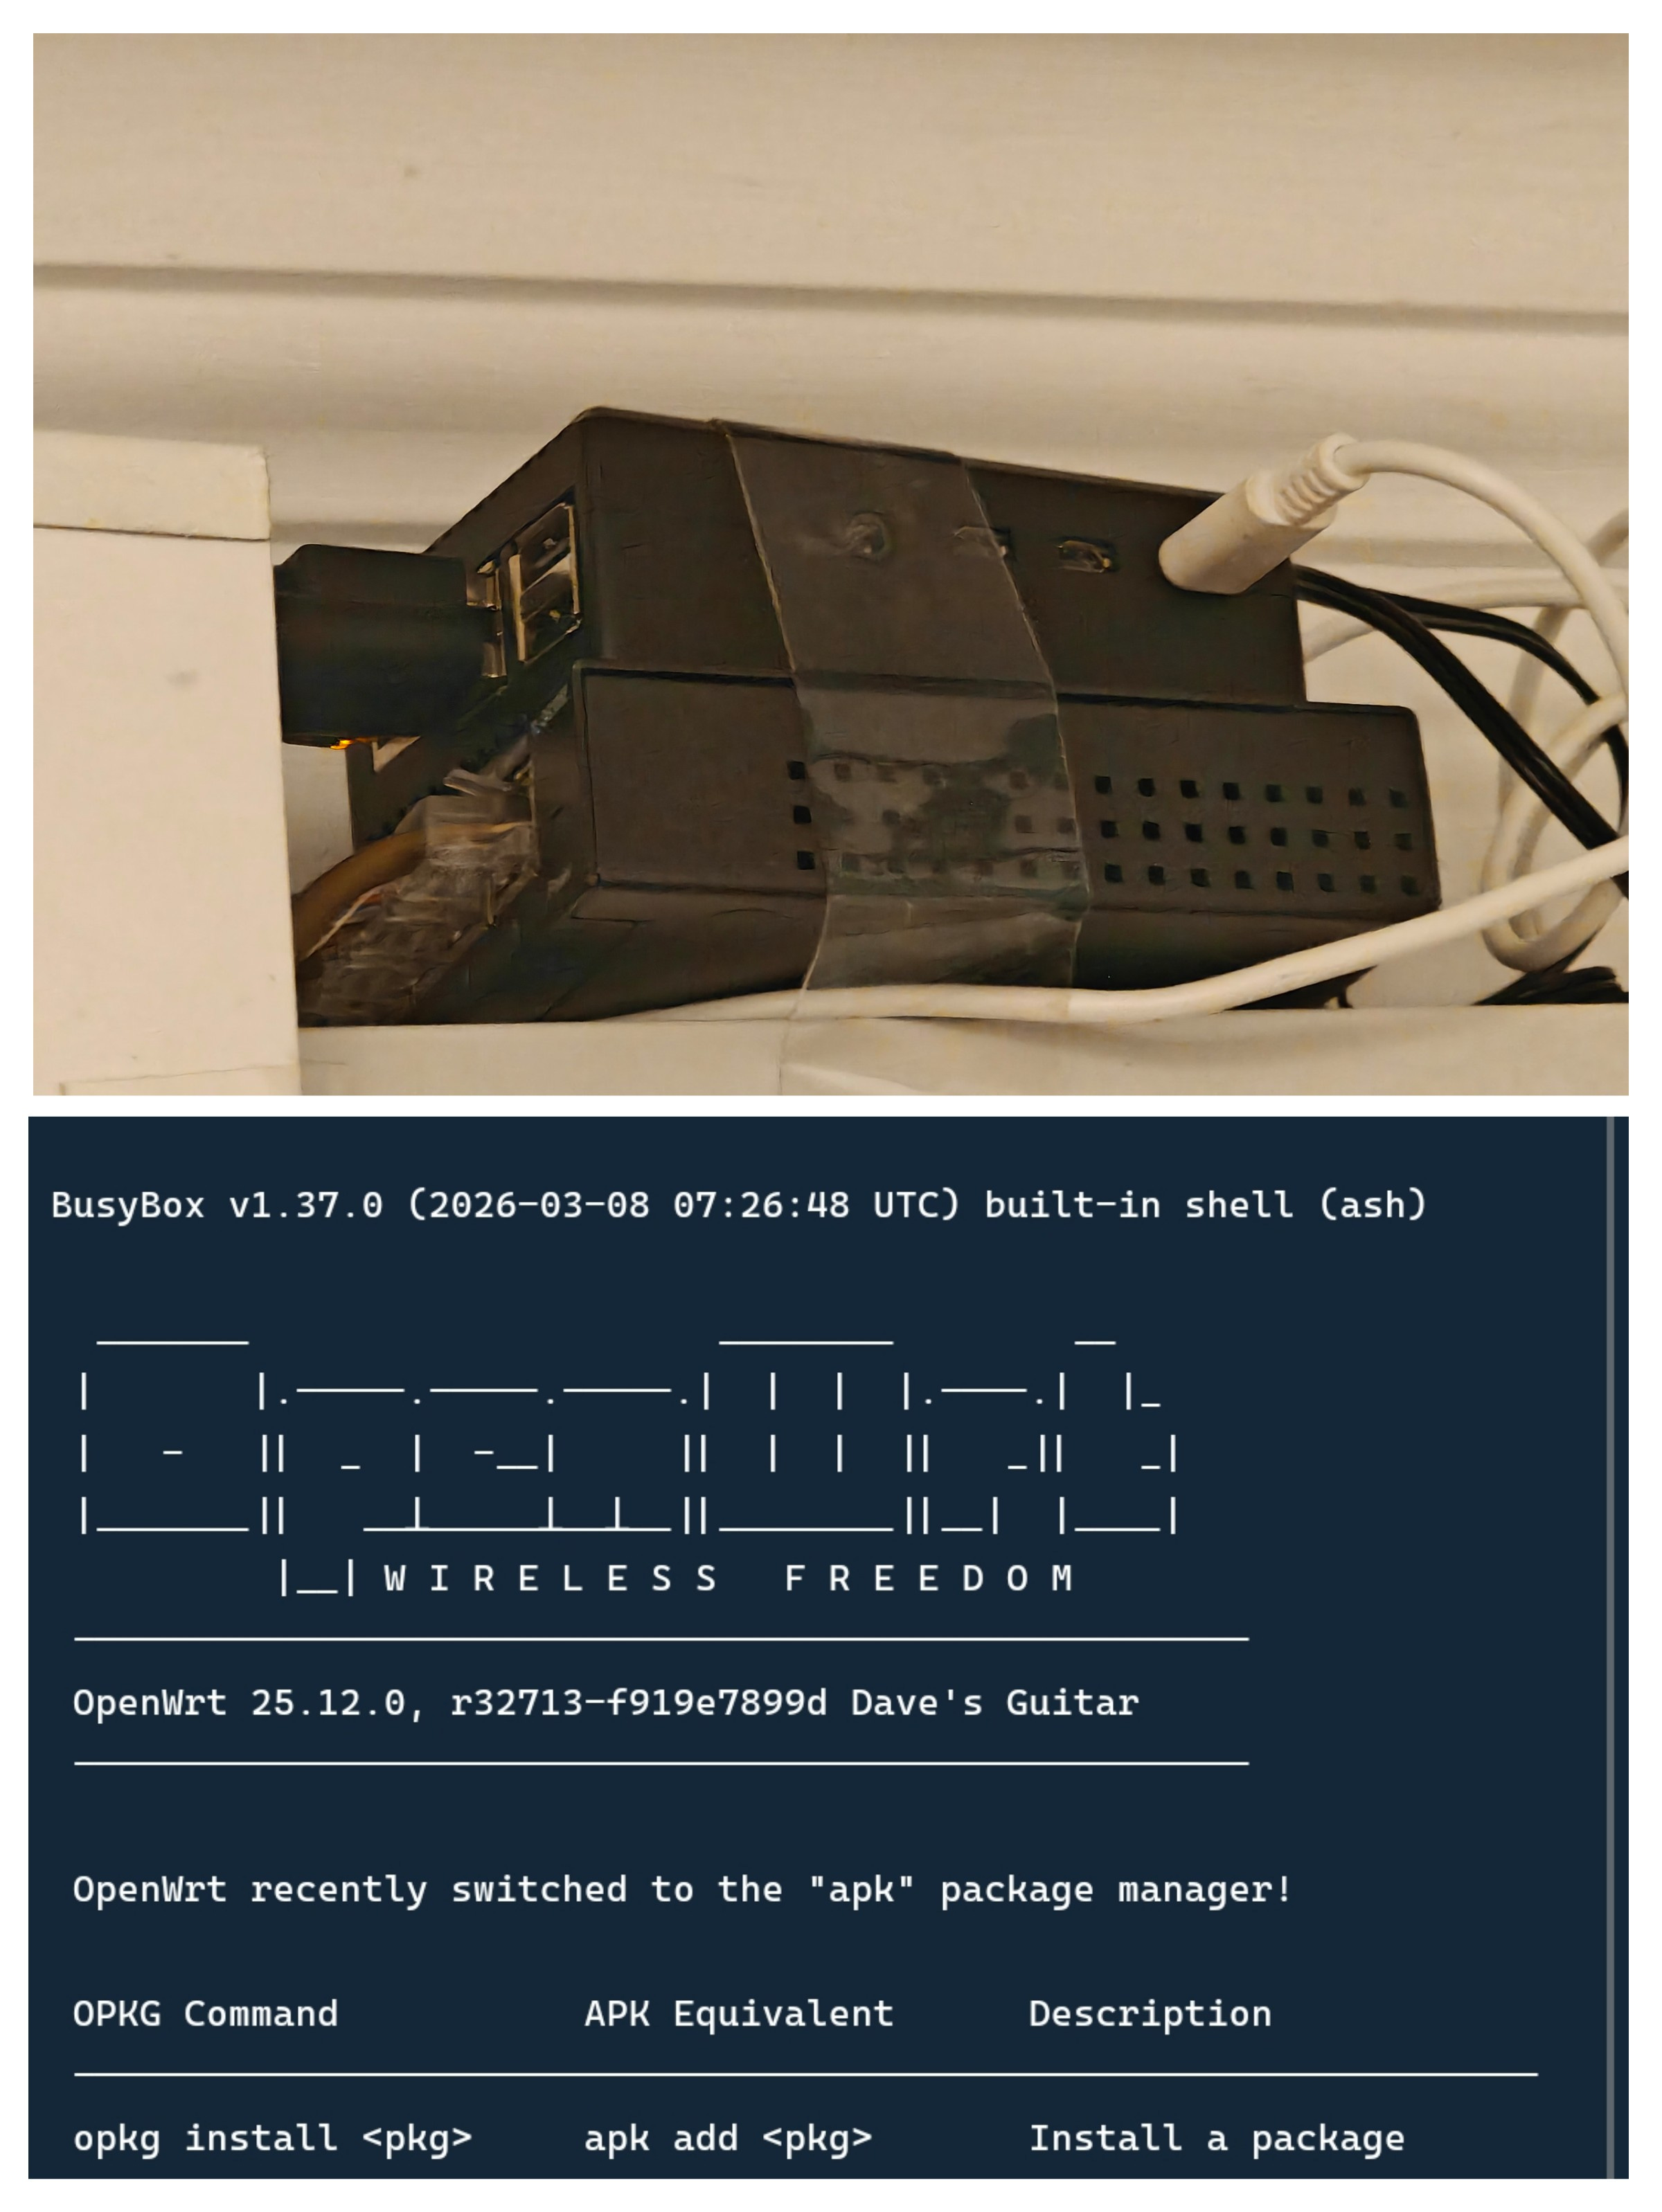
🟢 Node 1: The Gatekeeper (Network & Security)
Hardware: Raspberry Pi 4 | OS: OpenWrt
This node is dedicated to one thing: Pure Packet Performance. It manages my 300 Mbps connection with surgical precision.
1. OpenWrt + SQM (The Lag Killer)
I’m running Smart Queue Management (SQM) with the Cake algorithm. This actively manages the data buffer to prevent congestion.
The Result: I can download at full speed while gaming, and my ping stays rock-solid at 7ms. My Bufferbloat grade is a perfect A+.
2. AdGuard Home (Secondary)
Running directly on the gateway, a second setup of AdGuard Home acts as a redundant DNS sinkhole for the entire house.
Function: It blocks ads, trackers, and telemetry before they even reach my devices.
Performance: It saves bandwidth and speeds up browsing for every phone and laptop on the WiFi.
3. ntopng (Deep Packet Inspection)
This gives me Layer-7 visibility into my network. I don’t just see “traffic”; I see “Netflix,” “Zoom,” or “Steam.”
Load: The Pi 4 analyzes traffic flows at ~300 Mbps in real-time, hitting ~80% CPU load to keep me informed.
4. Beszel Agent (The Pulse)
A lightweight monitoring agent. Unlike Prometheus or Grafana which can be heavy, Beszel is resource-efficient, reporting the router’s health (CPU, RAM, Temps) back to the hub without impacting network throughput.
5. Restic snapshots
Once a week a new snapshot is saved to my 3S cloud storage backing up my whole system.
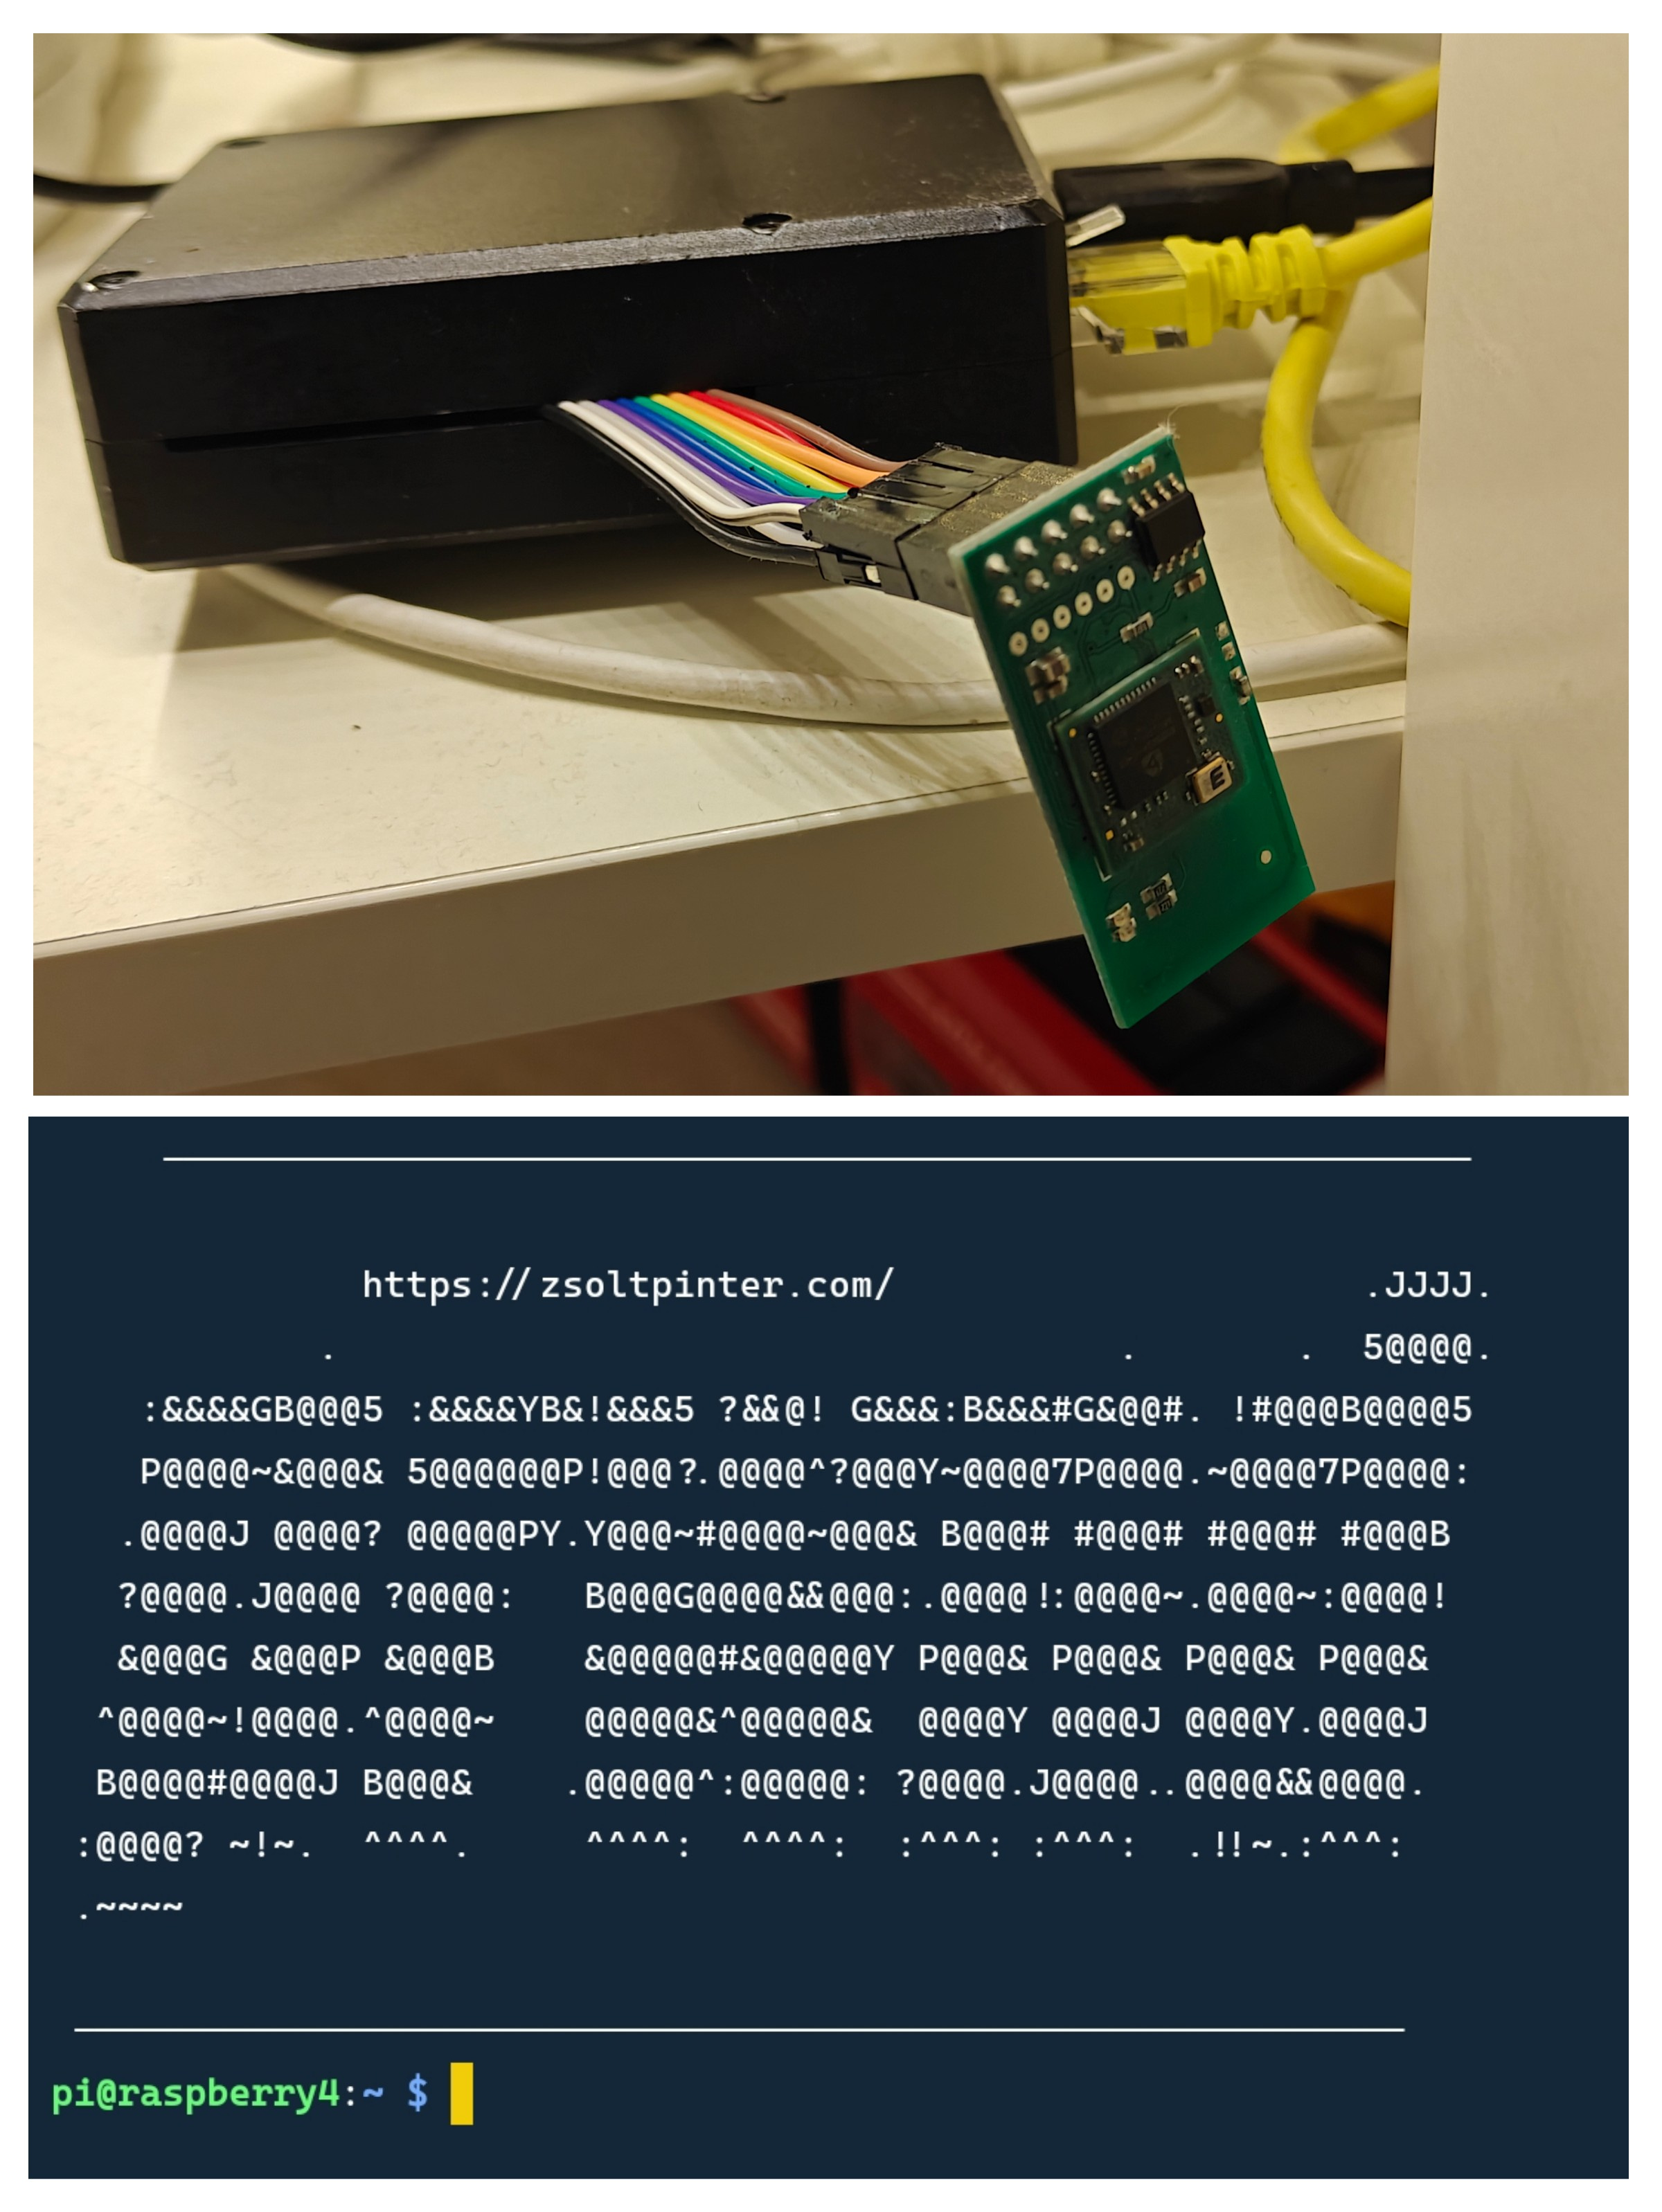
🔴 Node 2: The Vault (Storage & Logic)
Hardware: Raspberry Pi 4 + ADATA SD600Q SSD | OS: Raspberry Pi OS
This node handles the heavy data lifting. I bypassed the standard SD card limitations by booting from an SSD (with usb-storage.quirks applied to fix UAS instability).
5. Transmission (The Speed Demon)
The crown jewel of the setup. Writing data to a USB drive usually crashes the system due to high I/O wait.
The Tuning: I increased the RAM Cache to 128MB. The Pi buffers chaotic data in memory and writes it to the SSD in smooth, linear chunks.
The Result: A sustained 22 MB/s (176 Mbps) write speed—hitting the practical physical limit of the USB driver.
6. Samba (The Universal Translator)
I configured a high-performance SMB Share (/media/ssd/).
Permission Matrix: I created a
sambausergroup that unifies access. Whether it’s my Windows PC or the Transmission daemon, everyone has full Read/Write (775) access. No more “Permission Denied.”
7. SFTP (The Secure Tunnel)
For remote file management, I run an SFTP Server.
8. DLNA / MiniDLNA (The Streamer)
This turns the Pi into a plug-and-play media server.
Function: My projector and other devices instantly detect the network folder. No transcoding, no buffering.
9. Beszel Hub (The Dashboard)
This is the command center.
Function: It collects data from the Beszel Agents running on both Pis. I get a beautiful, single-pane-of-glass dashboard showing CPU load, disk usage, and Docker stats for the entire lab. And the most important: I immediatelly get an automated alert if anything reaches my pre-defined treshold.
10. AdGuard Home (Primary)
Running directly on the gateway, AdGuard Home acts as a DNS sinkhole for the entire house.
Function: It blocks ads, trackers, and telemetry before they even reach my devices.
Performance: It saves bandwidth and speeds up browsing for every phone and laptop on the WiFi.
11. Restic snapshots
Once a week a new snapshot is saved to my 3S cloud storage backing up my whole system.
12. TrustTunnel
This one is in experimental phase. In some rare cases I was unable to connect home via WireGuard. I am experimenting with a stealth VPN what cannot be detected, therefore cannot be blocked.
13. Node-RED with Z-Wave JS UI
Some local home automation stuff. Maybe for a future post?
🔵 The Glue: External Access
14. WireGuard (The Teleporter)
I don’t open ports. I use WireGuard to create an encrypted tunnel back home.
Performance: Unlike OpenVPN, WireGuard runs efficiently in kernel-space. This low-overhead approach makes it incredibly fast; it feels like I’m on local WiFi even when I’m on 5G.
15. Cloudflare + ddclient (The Locator)
To keep my VPN connected despite a dynamic IP, I use ddclient.
The Config: It automatically updates via the Cloudflare API.
Conclusion
This system is the definition of “set and forget.”
The Router works hard so the network feels effortless.
The NAS pushes the physical limits of USB I/O to deliver content instantly.
The Monitoring gives me God-mode visibility.
It’s quiet, it’s cool, it’s a hobby and most importantly—it pays for itself.